

Cameo Jewelry: Materials, Carving, Mounts, and Era Clues
Learn how to read carving style, materials, and mount clues in cameo jewelry photos, and follow a step-by-step comparison and app workflow for safe next checks.
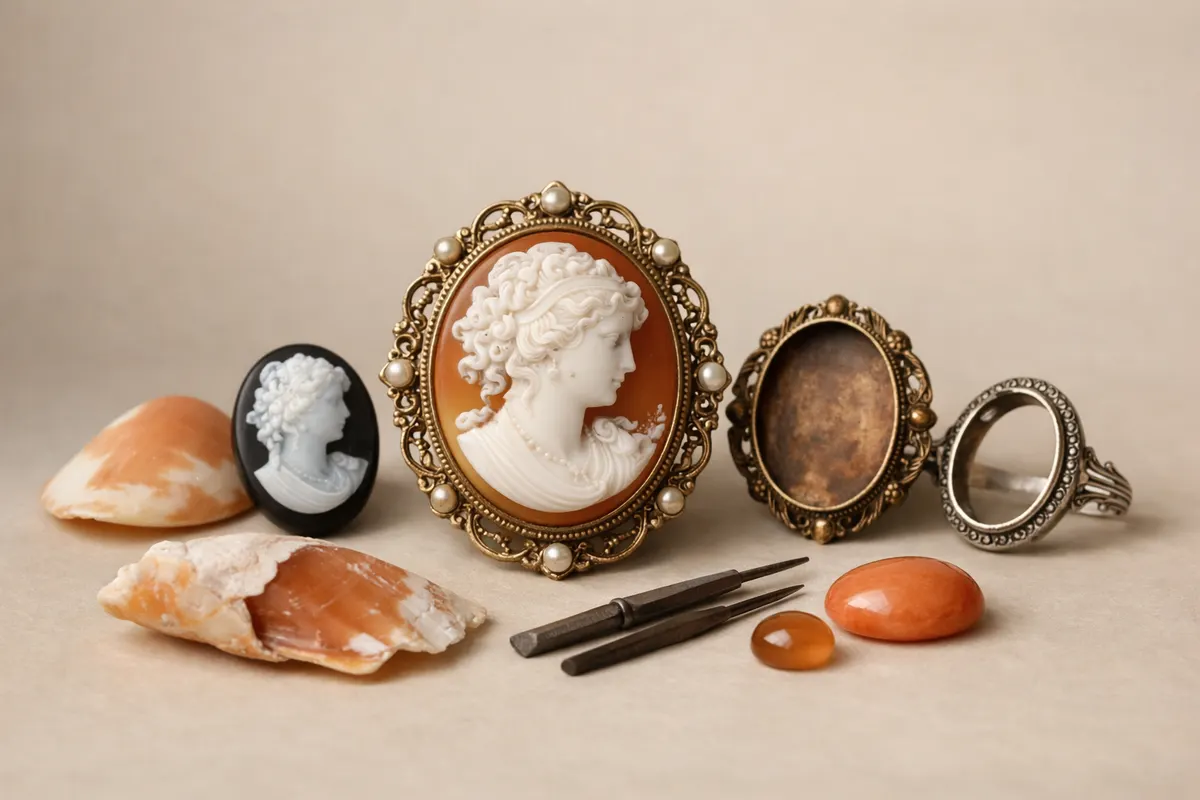
Quick answer for cameo jewelry
Cameo jewelry is best approached like a visual puzzle: visible carving techniques, the layered material, and the setting give the clearest first clues. In a phone photo you can often separate natural shell or stone cameos from modern resin reproductions and spot stylistic hints about when a piece was likely made, but a single image rarely proves date, maker, or market value.
The strongest immediate signals are the cameo’s profile and background contrast, fine-tool marks in the carving, the material’s texture at the edges, and how the piece is set into metal. Look for a multi-layered material with a carved relief in a different color than the ground, sharply incised hairlines, and tiny facets or tool-strokes visible around the edges of the figure.
Weak or misleading signals include color alone, glossy surface reflections, heavy patina on mounts that can be applied later, and a single flattering angle that hides seams or casting marks. Photos that flatten relief or wash out contrast make many real clues invisible.
Treat results from photos as research notes: combine several visual clues, check hallmarks and construction, and use a dedicated app or specialist for a closer look. Jewelry Identifier can be a useful next step to catalog visible clues and suggest likely matches, but any claim about authenticity or value requires a professional appraisal or lab test.
Strongest visual clues
When evaluating cameo jewelry from photos, prioritize clues that hold up under different lighting and angle changes. Layered materials, carving detail, bezel fit, and how the figure integrates with the background are reliable starting points because they’re either structural (material) or resistant to surface cosmetics (carving technique).
Material layering: Traditional cameos are often carved from materials with natural color layers—shells (for example, sardonyx-style bands), agate, onyx, or multi-layered stones. In photos a true layered cameo will show a change in color at the profile’s edge where the carver left the upper layer raised against the darker ground.
Carving technique: Look for microscopic lines and tool textures. Hand-carved cameos typically have varied incision depth, subtle undercutting around the nose, lips, and hair, and a slight asymmetry that reflects the artisan’s hand. Machine-pressed or molded reproductions often show uniform surface texture, rounded toolless transitions, or repeating seam lines from molds.
Mount and fit: The bezel and how the cameo sits in it tell a lot. Older or higher-quality settings are custom-fit with minimal gaps, often with fine prongs or a closed-back bezel. Modern glued-in reproductions or costume settings may show visible adhesive, plastic backing, or oversized bezels that don’t match the cameo’s exact outline.
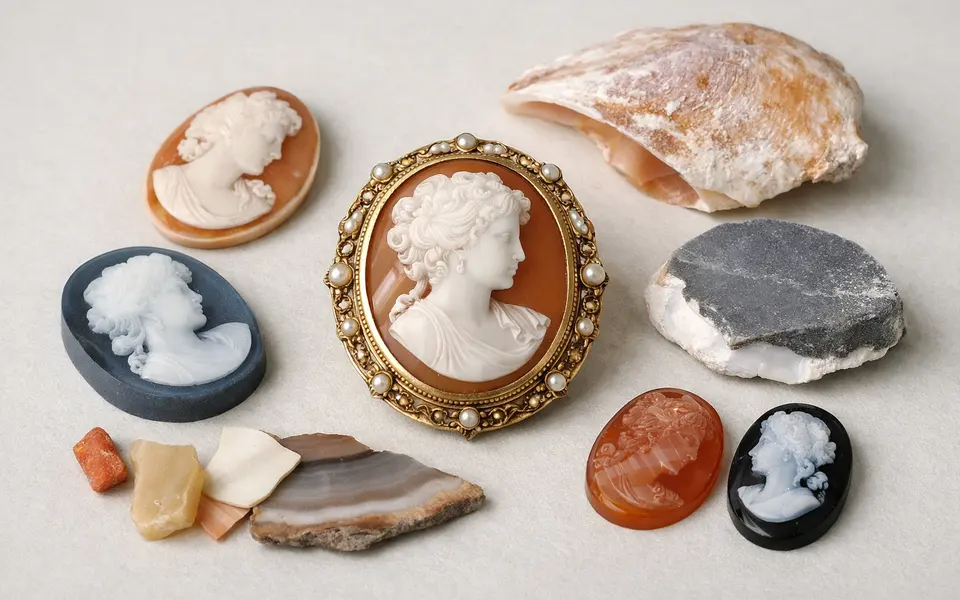
- Layered color change at edges — strong sign of shell or layered stone.
- Fine tool marks and varied incision depth — typical of hand carving.
- Sharp undercuts between relief and background — harder to reproduce in molds.
- Tight, well-matched bezel or prongs — indicates custom setting and care.
- Natural wear on high spots like the nose or cheek — consistent with age and handling.
Weak signals
Some clues often trusted by beginners are unreliable from photos. Color or brightness by itself is a weak signal because lighting, white balance, and camera auto-adjustments can dramatically change perceived hue. Likewise, high gloss doesn’t prove modern manufacture; a polished shell or a protected old cameo can look glossy in photos.
Surface patina on metal should be treated cautiously. Patina can develop naturally over decades, but it can also be applied or accelerated chemically. Similarly, a cracked or crazed surface on a shell cameo might indicate age, but it can also result from improper storage or environmental shock—visible cracks alone don’t date a piece.
One-angle detail and single-photo crop errors create false confidence. Mold seams, casting sprue marks, or layered resin edges may be hidden by a flattering shot. Always request multiple angles: a straight-on face, a close edge shot to show layering, and a full-view of the back and mount.
- Color in a single photo — influenced by lighting and camera settings.
- Gloss or shine — can be natural or from surface treatment.
- Patina alone — may be genuine, applied, or simulated.
- Single angle views — hide mold seams, backs, or adhesive.
Comparison workflow
A systematic comparison prevents over-reading small clues. Start by collecting consistent reference photos: front, edge, three-quarter, and back of the cameo plus close-ups of hallmarks or maker’s marks. Keep a short note for each image describing lighting and any manipulations (flash, crop, filters).
Next, compare material and carving features side-by-side with trusted examples. For shell cameos, compare the thickness of the raised layer, the curvature of the profile, and visible tool marks. For stone cameos, check for true banding in agate or uniform grain in onyx; stones will not show the same layered organic grain as shells.
Use a checklist that combines at least three independent clues before leaning toward a hypothesis: material layer, carving technique, and mount construction. If all three point to the same era or technique (for example, hand-carved shell with Victorian-style gold bezel and natural wear), the hypothesis is stronger. If clues conflict—say, an old mount with a modern-looking cameo—treat the result as mixed and prioritize hands-on verification.
When possible, cross-reference with maker styles and documented examples. Costume jewelry makers in the early 20th century copied classical profiles; Italian tourist-era shell cameos post-1950 often use thinner shells and brighter paints. Use comparison to narrow possibilities, not to declare certainty.
- Collect 4 standard photos: face, profile edge, three-quarter, and back.
- Note lighting and photo processing for each image.
- Compare three independent clues before forming a strong hypothesis.
- Record conflicting signals and prioritize physical inspection if uncertain.
App workflow
After you’ve checked visible clues, use an app like Jewelry Identifier to organize images and capture the clues you observed. Start a new item, attach your photos, and tag features such as material layering, tool marks, bezel type, and any hallmarks. Treat the app as a research assistant that helps you track observations and surface likely lookalikes—it is not a substitute for a lab report or expert appraisal.
When using the app’s suggestions, filter results by the clues you trust most. If the app returns many resin reproductions but your edge photos clearly show layered shell, filter or deprioritize results that conflict with the layered-material clue. The app’s image matches are helpful for spotting common patterns or region-specific styles, but always cross-check matches against hallmark databases and documented maker characteristics.
If the app flags potential hallmarks or maker initials, photograph the marks clearly with a macro or a magnifier lens on your phone and save those images in the item record. Hallmarks often provide the strongest corroboration for age and country when legible; if you can’t read a mark, note its shape and location for later expert review.
Finally, use the app’s notes field to summarize your confidence level and next steps: “Likely shell cameo with hand-tooling; bezel suggests late 19th century; confirm with lapidary or appraisal. ” These structured notes make in-person verification faster and reduce cognitive bias when you consult a specialist.
- Tag images with the top 3 visible clues before checking suggestions.
- Filter app matches by material and carving technique to reduce false positives.
- Capture clear macro photos of hallmarks and bezel attachment.
- Save a short confidence note and suggested next steps for each item.
Related guides
Next step: organize your cameo photos and clues
After you’ve noted layering, carving marks, and mount details, use Jewelry Identifier to save your photos, tag visible clues, and record your confidence level. Treat the app’s suggestions as a research tool and then decide whether to seek a hands-on appraisal or lab test for definitive answers.
Take the next step →Frequently asked questions
How can I tell shell cameos from resin or plastic in photos?
Shell cameos typically show fine growth lines, slight translucence on thin edges, and a natural, layered color change where the relief meets the ground. Resin or plastic often has a uniform texture, air bubbles near seams, and repeated surface patterns from molds. Edge photos at high magnification are the most revealing—look for organic grain rather than perfectly consistent material.
Do hallmarks on the mount prove the cameo’s age?
Hallmarks can strongly indicate country, metal content, and sometimes an approximate date, but they don’t prove the cameo itself is original to the mount. Cameos are frequently re-mounted, so interpret hallmarks as evidence for the setting and manufacturing period of the metalwork. Combine hallmark reading with carving style and material clues to build a fuller picture.
Can carving style reliably date a cameo?
Carving style offers useful hints—Victorian cameos often feature neoclassical profiles with delicate features, while mid-20th-century tourist cameos may use bolder, simplified carving. However, style alone can be copied or revived. Use carving style alongside material, wear patterns, and mounting technique to make a more reliable dating estimate.
When should I get a hands-on appraisal or lab test?
If the cameo is valuable to you, shows mixed signals, or you need a formal valuation (for sale, insurance, or estate purposes), seek a hands-on appraisal. Choose a specialist who examines material under magnification and can conduct tests (for example, refractive index for stone, or spectrometry for synthetic resins) if needed. Use app-based findings and your photo checklist to prepare notes for the appraiser before the appointment.