

How to Tell if Jewelry Is Real: Safe Visual Checks Before You Trust a Match
Practical visual checks to help you decide how to tell if jewelry is real: stamps, construction, wear patterns, weak signals, and next steps.
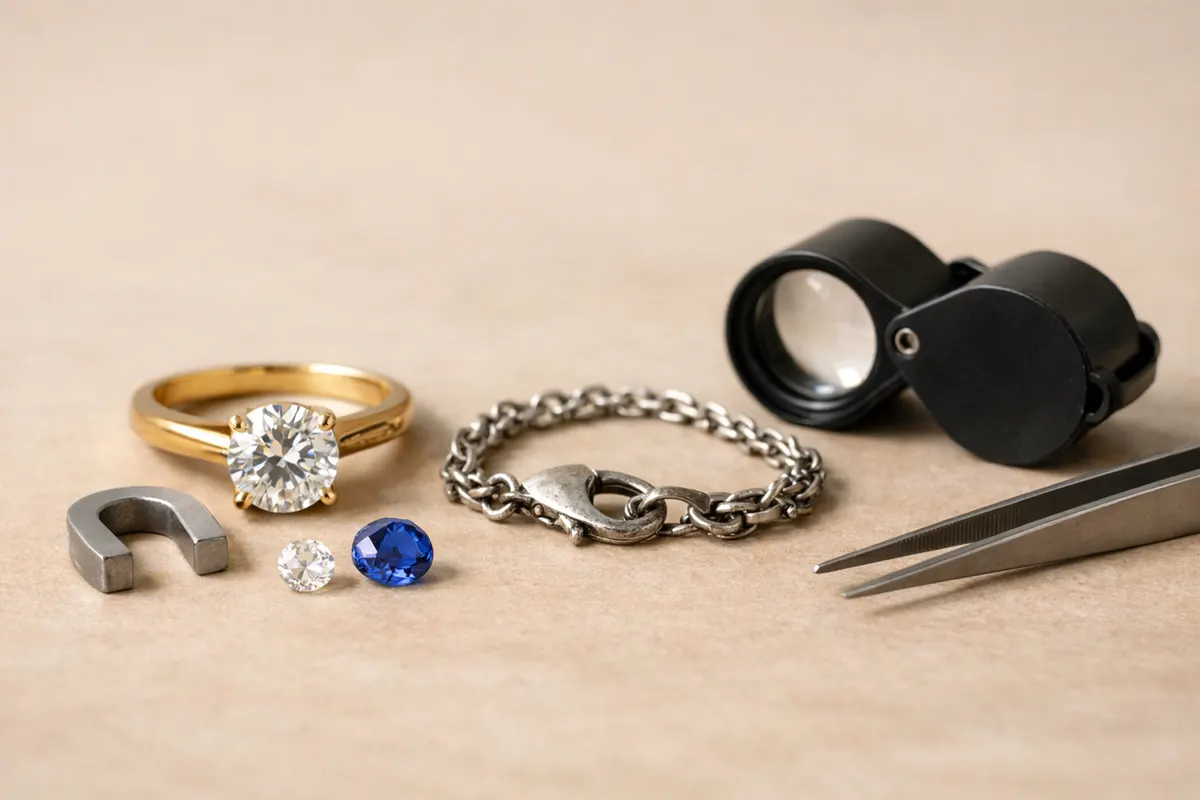
Quick answer for how to tell if jewelry is real
How to tell if jewelry is real starts with stable, verifiable visual clues: maker’s marks and hallmarks, consistent construction where joints meet, and wear patterns that reveal base metal beneath plating. These clues don’t prove purity or value, but they’re the most reliable first-pass signals you can see in a phone photo.
A close-up of a clear hallmark (for example “750” for 18K gold), well-finished solder seams, and heavy-duty settings for mounted stones are positive signs that a piece was intended to be durable and valuable. Equally important are negative clues: flaking color at edges, very light or thin prongs on a supposedly precious-stone setting, or stamped marks that look stamped on top of plating all lower confidence.
Treat visual checks as triage. Use them to prioritize which pieces deserve in-person testing. If multiple stable clues point the same way—good hallmark, solid construction, consistent wear—your confidence is higher. If clues conflict or are absent, stop short of assuming authenticity and bring the piece to a jeweler for tests like acid checks, electronic gold testers, or gem lab reports.
- Look first for hallmarks and maker’s marks—clear, consistent stamps are strong first-pass evidence.
- Inspect construction where two parts meet: solder seams, prong thickness, and clasp robustness reveal intended quality.
- Use wear patterns and exposed edges to spot plating, repairs, or replacement parts; inconsistent metal color at joints is a common red flag.
Strongest visual clues
These clues survive lighting changes and most phone-camera limitations, so prioritize them when taking or reviewing photos. A readable stamp inside a ring shank, a neat solder line under the cup of a pendant, or heavy, evenly worn prongs are all items you can rely on more than color or sparkle.
Hallmarks and maker’s marks: a clear, crisp stamp inside a shank or on a clasp often indicates the metal type and sometimes the maker. For example, numeric marks like “925” (sterling silver) or “585” (14K gold) are standardized. Look for consistent depth and placement—the stamp should be pressed into the metal, not printed or superficially etched.
Construction details: examine solder joints, link thickness on chains, and how prongs are formed. Solid gold or well-made pieces have clean, tapered prongs and smooth, planned soldering that follows design lines; cheap plated items frequently have uneven solder blobs, brittle thin shanks, or visible gaps where parts were brazed. For mounted stones, the setting style is diagnostic: tension and bezel settings are more costly to produce correctly than glued or lightly crimped settings, so a high-quality setting matching the claimed material increases confidence.
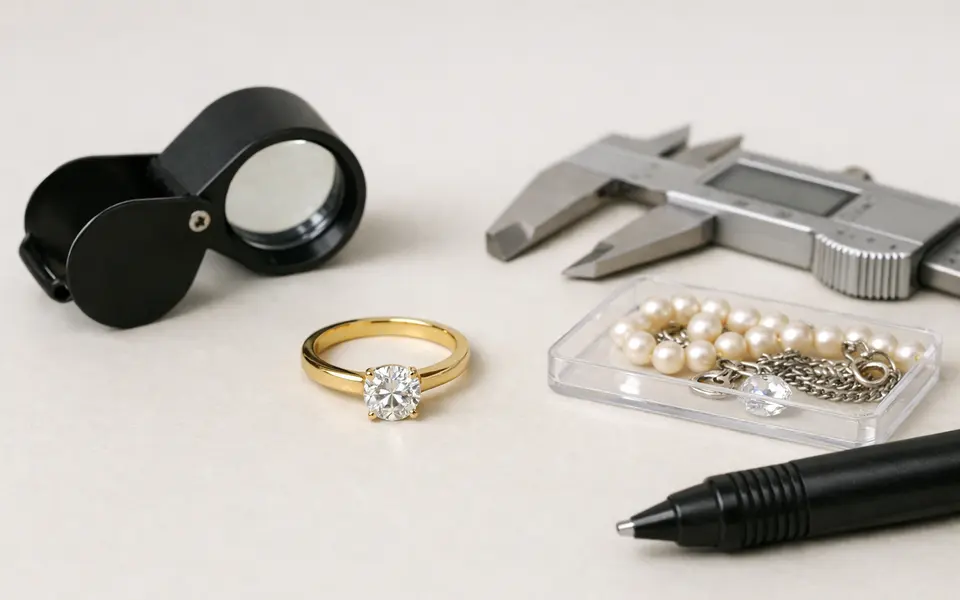
- Hallmarks and maker’s marks: read depth, font, and placement; shallow or painted marks are suspicious.
- Solder lines and joins: tidy, filed seams suggest quality repair or manufacture; lumpy or masked seams suggest low-cost plating or aftermarket fixes.
- Setting construction: prong thickness, finishing inside the setting, and symmetry indicate whether a piece was built for a real gemstone or a decorative simulant.
- Clasps and fasteners: branded box clasps, safety catches, and strong snap closures usually accompany higher-quality metalwork. Cheap springs and welded rings can be evidence of costume jewellery.
Weak signals
Some attributes look convincing in photos but are unreliable. Color alone is one of the weakest signals: lighting, camera white balance, and reflective surroundings change perceived color dramatically. A warm yellow tone doesn’t prove a piece is solid gold, and bright white metal in a flash can disguise plating.
Sparkle and brilliance: gemstone sparkle and fire are useful only when you can compare facet patterns and other structural cues. Photographic sparkle is strongly affected by lens blur, pixelation, and compression—moissanite’s doubled sparkle or diamond’s scintillation can be confused in phone photos. Likewise, an absence of visible inclusions doesn’t confirm a lab-grown or high-quality natural stone; many small diamonds appear clear in low-resolution images.
Context signals can mislead: a branded box, old paperwork, or a seller’s polished staging won’t authenticate the object itself. Hallmarks and stamps can be forged or added, and a stamped “925” sewn onto a tag is irrelevant. Treat any single soft signal—color, sparkle, provenance photo—as suggestive at best and seek corroborating hard clues.
- Color and tone are unreliable: lighting and camera settings change metal color drastically.
- Photographic sparkle and inclusions are not definitive for gemstone identity.
- Packaging, provenance photos, and social media posts are circumstantial; they don’t replace construction and hallmark checks.
- Single-angle photos hide repairs, plated edges, and substituted parts—always request multiple views.
Comparison workflow
Work through a short checklist and compare multiple independent clues rather than relying on one attractive feature. Build a side-by-side view with at least these photographs: full-piece shot, inside shank or back of pendant (for stamps), clasp/fastener detail, profile of any stones, and a close-up of solder or seams. Consistency across these photos increases confidence.
Step 1: Gather targeted photos. Use natural light for color accuracy, include a neutral reference (a coin or ruler) for scale, and shoot macro close-ups of hallmarks, prongs, and seams. Step 2: Record quick notes: visible stamp text, clasp type, areas of wear, and any repairs. Step 3: Cross-check: does the hallmark language match expected maker marks? Do prongs show even wear typical of years of wear, or is only the plating worn off at contact points?
Apply a simple decision rule: if two or more strong clues point toward authenticity (valid hallmark + solid construction + consistent wear) treat the object as a candidate for professional verification. If strong clues conflict (e. g. , clear “750” stamp but thin, flaking edges revealing a different color metal), treat the piece as suspect and prioritize lab testing. Use the checklist to tell the jeweler what you already checked; that saves time and helps them pick the right tests.
- Photo set to capture: full piece, hallmark, clasp, stone profile, edge/wear areas.
- Note and compare: stamp text, solder finish, prong thickness, and any exposed base metal.
- Decision rule: 2+ consistent strong clues → good candidate for in-person testing; conflicting clues → bring to a pro right away.
App workflow
Before you visit a jeweler, organize your photos and observations so a professional can act quickly. Use Jewelry Identifier to tag each image with what it shows (hallmark, clasp, prong, profile), add short notes like “visible 585 stamp, worn plating on inner rim,” and keep the photos in a single entry for that object. This organizes the visual evidence without implying the app can verify material purity.
Capture guide inside the app: start with a macro of the hallmark, then an inside-edge shot, stone profile, full-piece shot on a neutral background, and a close-up of wear points. Add a note if you performed a simple non-destructive test like a magnet check and what the result was; magnetic attraction is a quick red flag for ferrous alloys but not proof of plating or alloy content.
When you meet a jeweler, share the organized image set and notes—either by showing the app on your phone or exporting a PDF summary. Summaries that clearly show the hallmark, damaged areas, and the most suspicious detail speed up the jeweler’s triage and let them choose the right assays (acid, XRF, or gem lab). Keep the app entry as a dated record: if you later have the piece tested, record the jeweler’s result next to your initial clues so you and other owners have a traceable history.
- Tag and label each photo: hallmark, clasp, prong, wear spot, stone profile.
- Include brief test notes (magnet: yes/no), and the environment/light used for photos.
- Export or present the organized photo packet to a jeweler to speed in-person verification and record professional results beside your original notes.
Related guides
Organize your visual clues before you go
Use the Jewelry Identifier app to collect and label photos—hallmarks, clasps, prongs, and wear spots—so you have a clear packet of evidence to show a jeweler. The app helps you record notes (magnet check results, suspected plating, visible stamps) and keep a dated history, but it doesn’t replace in-person testing. Prepare better questions for the professional and save time by bringing organized photos and observations.
Take the next step →Frequently asked questions
Can a photo prove that a ring is solid gold?
No. A photo can show a hallmark, wear that exposes underlying metal, or consistent color, but it cannot prove gold purity. Hallmarks can be forged and plating can be polished to mimic solid metal. Treat a photo as a way to prioritize testing—if visual clues point to gold, follow up with a professional assay (acid test, XRF) for confirmation.
How do I read common hallmarks and what do they mean?
Hallmarks vary by country and period but many are numeric purity marks like 925 (sterling silver), 585 (14K gold), or 750 (18K gold). Maker’s marks are initials or symbols identifying the manufacturer. Check placement and depth: authentic hallmarks are struck into metal, with clean edges. If a mark looks printed, added after plating, or inconsistent with known maker styles, treat it skeptically and seek a jeweler’s opinion.
If a stone sparkles like a diamond in photos, is it a real diamond?
Not necessarily. Sparkle and fire are affected by facet pattern and lighting; moissanite, high-quality CZ, and some lab-grown diamonds can appear similar in photos. Look instead at setting quality, facet junctions in profile photos, and whether the mounting corresponds to a genuine diamond (for example, secure and even prongs). For definitive identification, professional testing (thermal probe, spectroscopy, or gem lab report) is required.
What single photo is most useful if I have to choose only one?
If you can take only one picture, photograph the inside or back where hallmarks and maker’s marks are usually stamped. A clear, in-focus close-up of that area with a scale reference (like a coin) is the highest-yield image for a first-pass evaluation.