

How to Identify My Ring: A Practical Photo Checklist
Identify my ring: learn which details a photo can prove, which clues matter most, and the next evidence checks before you act on identification.
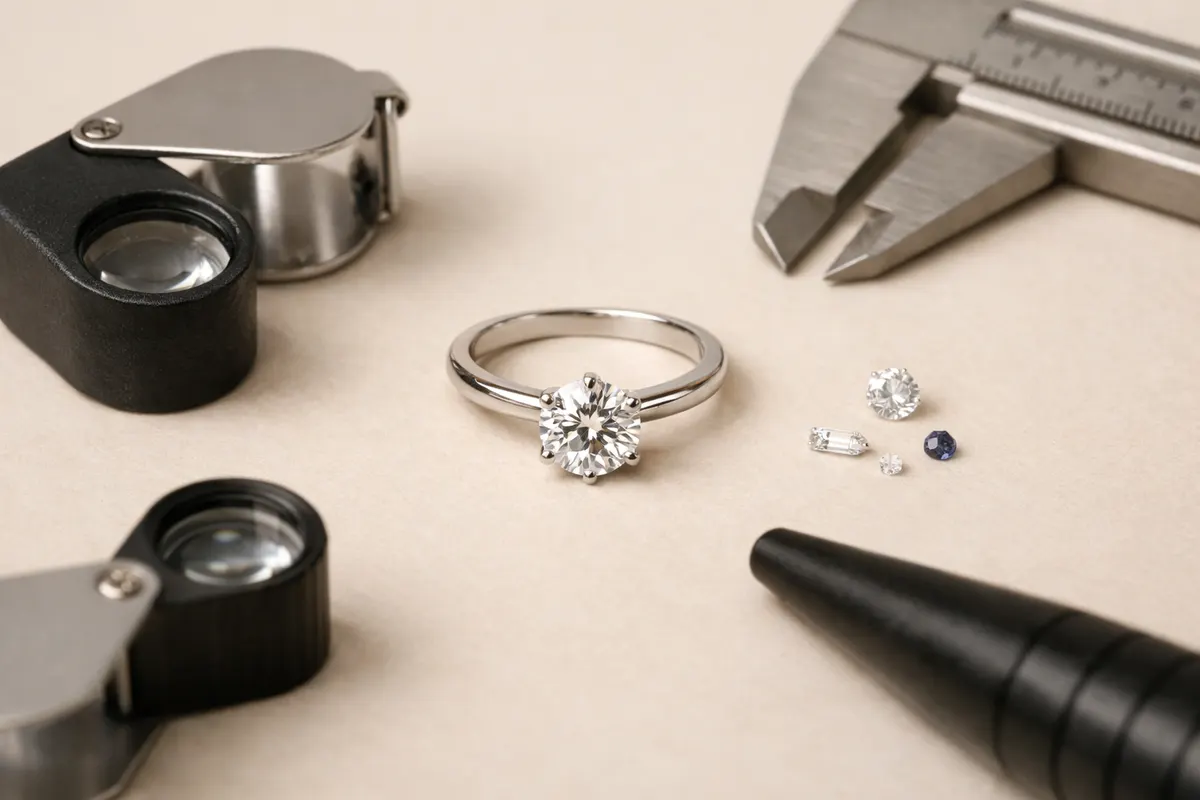
Quick answer: how to identify my ring from photos
If you want to identify my ring quickly, a clear photo plus three focused checks will usually give a plausible answer: read any hallmarks or maker's marks, inspect setting and construction, and note gemstone type or treatment clues. Those three visual data points let you narrow possibilities—metal type, likely age range, and whether the piece is mass-produced or handmade.
A single photo can often tell you whether a ring is costume, gold-filled, plated, or likely solid precious metal, and whether the stone is a common simulated gem or a faceted natural stone. But a photo alone rarely proves maker authenticity, exact carat weight, or a final market value; those require hands-on tests or paperwork.
Use the photo as a fast pre-check: capture clear macro images of the band interior, the stone from multiple angles, the setting’s underside, and the whole ring for scale. Those images support a reliable first-pass identification and point you to the right next steps, whether that’s a professional appraisal, a lab report, or a targeted search for maker marks.
- Read hallmarks and maker marks first—those are the strongest single-photo clues.
- Use setting and construction to narrow era and whether a piece is handmade or cast.
- Treat gemstone ID from photos as provisional—look for color, facet pattern, and inclusions.
- Photos help triage: they tell you what tests or experts you should contact next.
What it means to 'identify my ring'
To identify my ring means answering specific, practical questions about a piece: what metal is it, is the stone natural or simulated, when roughly was it made, and who might have made it. Readers often use the phrase to request a single definitive verdict, but identification is usually a graduated conclusion: some facts are high-confidence from photos, others are partial, and a few require lab or hands-on testing.
A realistic identification distinguishes between attribution and authentication. Attribution ties a ring to a plausible era, style, or maker based on visible clues; authentication verifies origin or precious metal content with tests, certificates, or provenance. Photos are very useful for attribution but limited for formal authentication.
Context matters. A wedding ring sold with an original receipt, engraving, or family history needs a different approach than a vintage ring found at a flea market. When you ask to identify my ring, think about which outcome you need—a rough idea for insurance, a confirmation for resale, or a lab-grade verification for estate settlement—and gather evidence accordingly.
- Identification: narrowing metal, gemstone type, era, and likely maker from visual evidence.
- Attribution: a plausible assignment (e.g., 'likely 1940s European cluster ring') based on style and marks.
- Authentication: proof of origin, metal purity, or gem origin—usually needs tests or documents.
Key clues to check when you identify my ring
Hallmarks and maker's marks are the single most useful clues you can capture in a photo. Look for stamped numbers (like 750, 925), citizenship or assay marks, country letters, or a tiny maker’s symbol. Even a partial mark can be matched to hallmark databases and narrow a search to country or century.
Construction and setting details tell you about craftsmanship and likely period. For example, pierced gallery work, hand-cut claws, or solder seams point toward older or handcrafted production; seamless, uniform casting and machine-sawn shanks often indicate modern mass production.
Gemstone appearance—color, facet pattern, and surface wear—helps separate common simulants from natural stones. Glass or paste often shows bubbles and sharp facet junctions; cubic zirconia shows rainbow flash under light; natural diamonds typically display crisp facet reflections and characteristic sparkle patterns. Remember that photos can mislead: camera white balance, reflections, and coatings alter perceived color.
- Hallmarks: numbers (e.g., 585, 925), assay office symbols, or maker logos—capture the inside band.
- Shank and seams: look for solder lines, split shanks, or uniform machine finishes.
- Setting style: prong types, bezels, collets, and gallery work suggest era and quality.
- Stone indicators: surface wear, facet crispness, and color zoning offer provisional ID.
- Wear patterns: consistent wear and patina often indicate age; freshly polished parts can hide evidence.
Step-by-step workflow to identify my ring
Start with high-quality photos. Take at least five types of shots: a full-ring image for scale, a close-up of the stone(s) facing the camera, a profile shot showing the setting and gallery, a clear interior-band photo for hallmarks, and an underside/inside view showing seams or repairs. Use daylight or a neutral light source and a plain background to reduce reflections.
Read visible marks carefully. If a number like 375, 585, 750, 925, or 900 is present, those are standard purity stamps for gold and silver. Country-specific assay stamps and maker’s symbols can be looked up in hallmark databases; record every character and take a separate macro photo of the mark at an angle to reveal faint punches.
Examine setting and construction for manufacturing clues. Hand-cut claws, slight asymmetry, and evidence of old solder work point to hand fabrication; identical repeatable features and near-perfect symmetry usually indicate casting or modern machine production. Note also the style—cluster, solitaire, gypsy, or signet—since styles map to eras and regions.
Assess the stone visually but conservatively. Look for inclusions, reflective properties, and surface wear. Use a loupe or strong magnified photo to see whether facets show wear or chips consistent with a natural gem. For practical purposes, classify stones provisionally as 'likely natural,' 'likely synthetic/simulated,' or 'uncertain' rather than giving a firm lab-style ID.
Decide on next steps based on what you learned. If hallmarks and construction suggest a valuable antique, schedule an in-person appraisal or lab grading. If the ring appears costume or plated, a lighter approach—such as a jeweler’s quick acid test or resistance to magnetism—may be enough. Keep in mind that the photo workflow is a triage tool: it tells you how urgently you need hands-on verification.
- Capture five essential photos: whole ring, face, profile, interior band, underside.
- Document any numbers or symbols and take a separate macro shot of each mark.
- Match visible marks to hallmark sources before assuming a conclusion.
- Classify gemstones provisionally; avoid firm conclusions without tests.
- Use visual evidence to choose an appropriate verification step—appraisal, lab, or light jeweler check.
Examples of identifying common ring types from photos
Example 1 — Modern sterling silver ring with maker’s mark: A clear interior stamp '925' plus a small fish-shaped maker mark and a uniform machine finish suggests contemporary sterling silver. If the setting has a modern bezel and solder seams are smooth, attribution is high-confidence; authentication (e.g., silver content) is low-effort with a jeweler’s quick test.
Example 2 — Yellow gold cluster ring that looks vintage: Photos showing hand-cut claws, an open pierced gallery, and a worn shank with a faint '375' mark point to 9k or 9-carat gold, likely mid-20th century. Surface wear and minor chip on a central stone support an older date. This is a typical attribution scenario: likely era and metal known, but market value and stone origin still need in-person tests.
Example 3 — Costume or gold-plated ring with baseless copy mark: A ring with a stamped '750' but a thin plate, visible flaking on high-wear edges, and a magnetic reaction suggests the '750' mark is a fake or misapplied plating stamp. Photos of the underside showing base-metal color at wear points are decisive: treat such images as a red flag and recommend hands-on testing before assuming solid gold.
Example 4 — Signet ring with maker’s initials: Clear engraved initials in a style consistent with Victorian or early 20th-century design, plus a maker’s hallmark and hand-engraved decoration, support a maker attribution. Photos of the engraving style and punch marks on the inside band can help match the piece to published maker lists or auction records; still, provenance or paperwork makes authentication stronger.
- Sterling silver: clear '925' plus maker mark and consistent finish is high-confidence.
- Vintage gold cluster: hand-cut details and '375' or '585' stamps point to era and metal.
- Plated impostors: wear-through and base-metal exposure often reveal plating, despite stamped numbers.
- Signet rings: engravings, punch marks, and handwork are strong attribution clues but need provenance for full authentication.
Limitations and when to get verification for my ring
Photos have clear limits. They cannot reliably prove stone origin (natural vs. lab-grown vs. simulant), certify precise metal purity to the decimal, or confirm maker authenticity beyond reasonable attribution. Camera distortion, lighting, and prior polishing or repairs can mask critical features. Treat online or image-based IDs as a triage opinion rather than a legally defensible verification.
There are three practical confidence tiers to expect when you identify my ring from photos: high-confidence visual facts (visible hallmarks and obvious base-metal exposure), medium-confidence attributions (era, likely maker family, probable metal), and low-confidence claims (exact carat weight, gem origin, or precise market value). Use that framework to decide whether you need a jeweler, a gem lab report, or estate appraisal.
When to get in-person verification: if the ring might be high-value, when official documentation is required for sale or inheritance, or when the image shows ambiguous or suspicious marks. Recommended verification steps include an acid or XRF test for metal content, a trained gemologist exam for stone identification, and provenance research for maker authentication. These steps provide the certainty photographs cannot.
Practical safety and appraisal cautions: never assume wear patterns or discoloration equal authenticity, and avoid buying or selling based solely on a single photo. If you plan to insure, consign, or sell a ring of potential value, obtain a written appraisal or lab certificate. For everyday curiosity or low-value pieces, the photo workflow and a quick jeweler’s check are usually sufficient.
- Photos = good for triage; not sufficient for lab-grade authentication.
- High-risk situations (estate, legal sale) need documented appraisals or lab reports.
- XRF or acid tests and gemological reports move ID from probable to proven.
- When in doubt, prioritize hands-on inspection over online certainty.
Related guides
Need a fast photo pre-check for your ring?
After you follow the photo checklist above, Jewelry Identifier can run a quick visual pre-check to highlight hallmarks and likely materials and point you toward the right verification step. Use the tool for a first-pass review at https://jewelry-identifier.app/tools/ring-identifier — treat its feedback as a helpful triage alongside physical tests or expert appraisal.
Take the next step →Frequently asked questions
Can I identify my ring just from one photo?
A single photo can offer clues but is rarely enough for a confident identification. One image might show a hallmark or the general style, but it commonly misses crucial details like hallmarks stamped on the interior, the setting from the side, or wear on the underside. Capture multiple close-up and profile images to increase confidence, and treat any single-photo conclusion as provisional.
What do common hallmarks like 925, 585, and 750 mean?
Those numbers are standard purity stamps. '925' signals sterling silver (92.5% silver), '585' indicates 14k gold (58.5% gold), and '750' marks 18k gold (75.0% gold). Country-specific assay marks or maker punches usually accompany these numbers. Remember that stamps can be forged or reapplied to plated pieces, so a hallmark in a photo should be one part of your identification evidence, not the only proof.
How reliable is gemstone identification from photos?
Gemstone ID from photos is provisional. Photos help separate obvious simulants (glass, plastic) from apparent natural stones by showing bubbles, inclusions, or facet behavior, but many lab-grown gems and high-quality simulants mimic natural properties visually. A gemological exam using refractometers, microscopes, and spectroscopy is required for authoritative origin or treatment determinations.
When should I get a professional appraisal after identifying my ring from photos?
Arrange a professional appraisal if your photo-based identification suggests the ring may have substantial value, if it will be sold, insured, or included in an estate settlement, or if marks or provenance are ambiguous. For lower-value items or simple curiosity, a jeweler’s quick metal test or inspection can be enough. Appraisals and lab reports provide the written documentation that photos alone cannot.